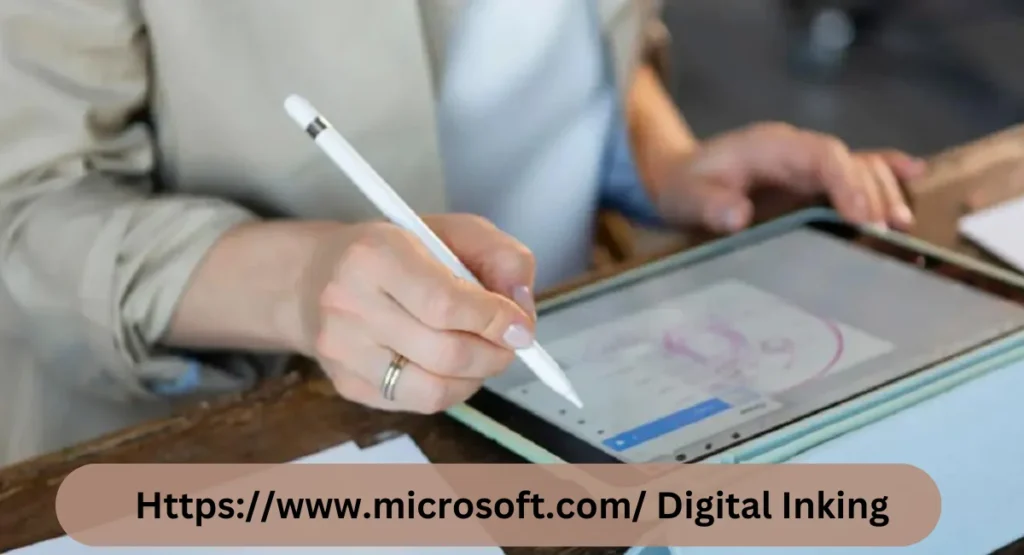
Digital Inking is transforming the way we interact with our devices, merging the tactile satisfaction of writing and drawing with the power of digital tools. This blend of physical and digital modalities enhances both productivity and creativity, offering users a seamless experience across a range of applications. Microsoft has been at the forefront of this evolution, introducing a suite of digital inking technologies and tools that cater to diverse needs, from professional settings to personal use.
This comprehensive guide provides an overview of Microsoft’s digital inking capabilities, offering insights into the tools, applications, and techniques that can elevate your digital inking experience.

What is Digital Inking?
Digital inking refers to the technology that enables users to write, draw, or annotate on a digital surface using a stylus or pen. This technology mimics the experience of using a pen on paper, providing users with the flexibility and convenience of digital tools while retaining the natural feel of traditional writing.
Key Benefits of Digital Inking
- Versatility: Digital inking can be used for note-taking, sketching, designing, and annotating documents or presentations.
- Efficiency: It allows for quick edits, easy organization, and sharing of notes or drawings.
- Accessibility: Digital notes are easily searchable and can be stored in the cloud for access across multiple devices.
- Environmentally Friendly: Reduces the need for paper, contributing to environmental sustainability.
Also Read: Phillies vs detroit tigers match player stats | Knicks vs Lakers Match Player stats | Houston Rockets vs Golden State Warriors Match Player Stats
Microsoft’s Digital Inking Tools
Microsoft offers a wide range of tools and applications that leverage digital inking capabilities, designed to meet the needs of different users. Here’s a closer look at the key digital inking tools from Microsoft.
1. Windows Ink Workspace
Overview
The Windows Ink Workspace is a feature available on Windows 10 and Windows 11, providing users with a dedicated space to manage their digital inking activities. It’s accessible directly from the taskbar, making it convenient to start inking right away.
Features
- Sticky Notes: A digital version of the classic sticky notes that can be created, stored, and synced across your devices. You can jot down quick reminders, to-do lists, or important notes.
- Sketchpad: Offers a blank canvas for drawing or sketching your ideas. It includes tools such as a ruler and a protractor for precise drawings.
- Screen Sketch: Allows users to capture screenshots and annotate them directly, which is useful for highlighting specific areas or providing feedback.
How to Use Windows Ink Workspace
- Access the Workspace: Click the Windows Ink Workspace icon on the taskbar or use the keyboard shortcut (Windows key + W).
- Select a Tool: Choose from Sticky Notes, Sketchpad, or Screen Sketch depending on your needs.
- Begin Inking: Use a stylus or your finger to write, draw, or annotate.
2. Microsoft OneNote
Overview
Microsoft OneNote is a powerful note-taking application that supports digital inking, making it ideal for capturing and organizing information. It allows users to take notes, create sketches, and annotate documents in a flexible and intuitive interface.
Features
- Handwriting to Text: OneNote can convert your handwritten notes into typed text, making it easy to search and edit your notes.
- Shape Recognition: This feature automatically corrects and straightens drawn shapes, ensuring your notes and diagrams look professional.
- Ink to Math: Convert handwritten equations into typed text, with the option to solve the equations using OneNote’s Math Assistant.
- Audio and Video Notes: Combine ink notes with audio or video recordings for a more comprehensive note-taking experience.
Tips for Using OneNote
- Organize with Sections and Pages: Structure your notes by creating different sections and pages within your notebook for better organization.
- Search Handwritten Notes: Use OneNote’s search function to find keywords within your handwritten notes, making it easy to locate specific information.
- Collaboration: Share your notebooks with others for real-time collaboration and feedback.
3. Microsoft Office Suite (Word, Excel, PowerPoint)
Overview
Microsoft’s Office Suite (Word, Excel, and PowerPoint) has integrated inking capabilities, enabling users to annotate and edit documents using a stylus or digital pen. These tools enhance the traditional Office experience by offering a more natural and interactive way to engage with your content.
Features
- Ink Editor: Edit your documents using natural gestures. For example, circle words to select them, or strike through text to delete it.
- Ink Replay: This feature allows you to replay the sequence of your annotations and edits, providing a visual history of changes made to the document.
- Ink-to-Shape: Convert freehand drawings into professional shapes, perfect for diagrams and presentations.
How to Use Inking in Office Applications
- Enable Inking: Open a document in Word, Excel, or PowerPoint. Navigate to the “Draw” tab in the ribbon.
- Select a Pen: Choose from various pen and highlighter options, and customize the thickness and color as needed.
- Annotate or Draw: Use your stylus or finger to start annotating or drawing directly on the document.
4. Microsoft Whiteboard
Overview
Microsoft Whiteboard is a digital canvas that allows teams to brainstorm, draw, and annotate ideas in real-time. It’s designed for collaborative sessions, where multiple users can interact on the same canvas simultaneously.
Features
- Infinite Canvas: Provides a boundless space for creativity and ideation, allowing users to zoom in and out as needed.
- Collaboration Tools: Share the canvas with teammates, and see their edits and contributions in real-time.
- Template Library: Access a variety of templates for different scenarios, including planning, design, and brainstorming sessions.
Tips for Using Microsoft Whiteboard
- Use Sticky Notes and Text Boxes: Add text and sticky notes to organize your thoughts and ideas.
- Insert Images and Files: Enhance your whiteboard with images, documents, and other media.
- Export and Share: Export your whiteboard as an image or PDF, or share it directly with colleagues for further collaboration.
5. Surface Pen and Slim Pen
Overview
The Surface Pen and Slim Pen are advanced stylus devices designed specifically for Microsoft Surface devices. They offer a natural and responsive inking experience, making them ideal for writing, drawing, and navigating your device.
Features
- Tilt Support: Allows for shading and precise control, providing a more realistic drawing experience.
- Pressure Sensitivity: Varies the thickness of the lines based on the pressure applied, enhancing the overall drawing experience.
- Button Functions: Quick access to shortcuts and commands, improving efficiency and productivity.
Tips for Using Surface Pen and Slim Pen
Practice Tilt and Pressure: Experiment with different levels of pressure and tilt to create varied line thicknesses and shading effects.
Customize Pen Settings: Adjust the settings in the Windows Ink Workspace or Surface app to optimize the pen’s performance according to your preferences.
Use Shortcuts: Familiarize yourself with the pen’s button functions for quick access to tools and features.
Also Read: Fixing “IndexError: List Index Out of Range” in Python | Dallas Mavericks vs Boston Celtics Match Player Stats | Manchester City vs Real Madrid Stats UEFA Champions League
How to Use Digital Inking in Microsoft Products
Getting Started with Windows Ink Workspace
- Access the Workspace: Click on the Windows Ink Workspace icon in the taskbar or press the Windows key + W.
- Choose a Tool: Select from Sticky Notes, Sketchpad, or Screen Sketch based on your needs.
- Start Inking: Use a stylus or touch to begin writing or drawing.
Using Inking in Microsoft Office
- Enable Inking: Open a document in Word, Excel, or PowerPoint. Navigate to the “Draw” tab.
- Select a Pen: Choose a pen or highlighter, adjust the thickness and color as needed.
- Annotate or Draw: Use the stylus or your finger to start annotating or drawing directly on the document.
Tips for Effective Digital Inking
- Customize Your Pen Settings: Adjust the thickness, color, and style of your pen for different tasks.
- Practice Gestures: Learn gestures like circling to select or striking through to delete for efficient editing.
- Utilize Ink Tools: Explore features like Ink Editor or Ink Replay to enhance your workflow.
Advanced Features and Tips
Ink to Code (Preview)
Microsoft is exploring new frontiers with Ink to Code, which allows developers to draw UI elements and convert them into functioning code snippets.
Ink Analysis
Microsoft’s Ink Analysis feature can recognize and convert handwritten notes, shapes, and drawings into digital text, shapes, and diagrams, enhancing accuracy and productivity.
Integration with Microsoft Teams
Microsoft Teams supports digital inking, allowing users to draw and annotate during meetings, enhancing collaboration and communication.
Also Read: Pacers vs Philadelphia 76ers Match Player Stats | Denver Nuggets vs LA Clippers Match Player Stats | Lakers vs Sacramento Kings Match Player Stats
Conclusion
Digital inking is transforming how we interact with technology, bridging the gap between traditional pen-and-paper methods and the digital world. Microsoft’s suite of digital inking tools provides a versatile, intuitive, and efficient platform for writing, drawing, and collaborating. Whether you are a student, professional, or creative enthusiast, Microsoft’s digital inking capabilities offer endless possibilities for productivity and creativity.


